
Use JamFrame in Make
The JamFrame app for Make installs from an invite link for now. How to install it, connect it with an API key, render a template in a scenario, and what the other modules and triggers do.
Make joins your apps together. Each automation is a scenario: a chain of modules. The first module (the trigger) starts the scenario, and the next ones do the work. The JamFrame app for Make lets a scenario render your templates, post to social accounts and run workflows, and lets things that happen in JamFrame start a scenario.
What you need
- A Make account. The free plan works.
- A JamFrame API key. See API keys.
Install the app
-
Sign in to Make. To install an app, you need the Owner, Admin or App Developer role in your Make organization.
-
Open the invite link and click Install.
The invite link opens this page. -
If Make asks which organizations should get the app, choose yours and confirm.
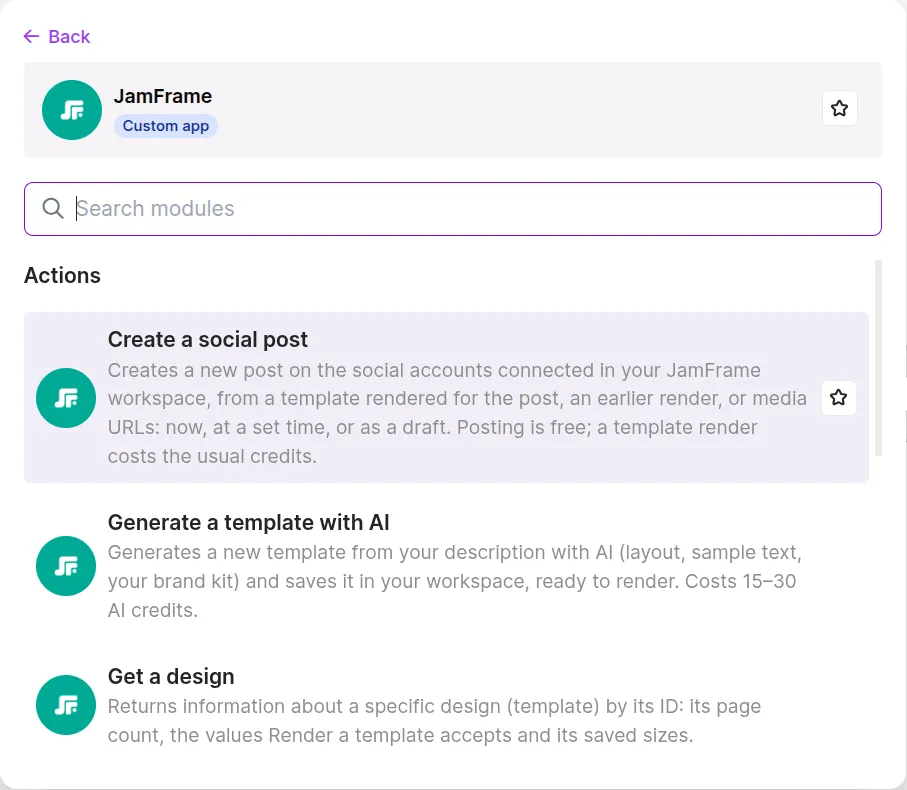
JamFrame now shows up when you add a module to a scenario. Until Make lists the app, it carries a Custom app label.
Connect your JamFrame account
The app signs in to JamFrame with an API key. A key works in one workspace, so everything your scenarios do happens in that workspace, and renders use that workspace’s credits.
-
In JamFrame, in the sidebar, under Developers, click API Keys. Create a key and copy it.
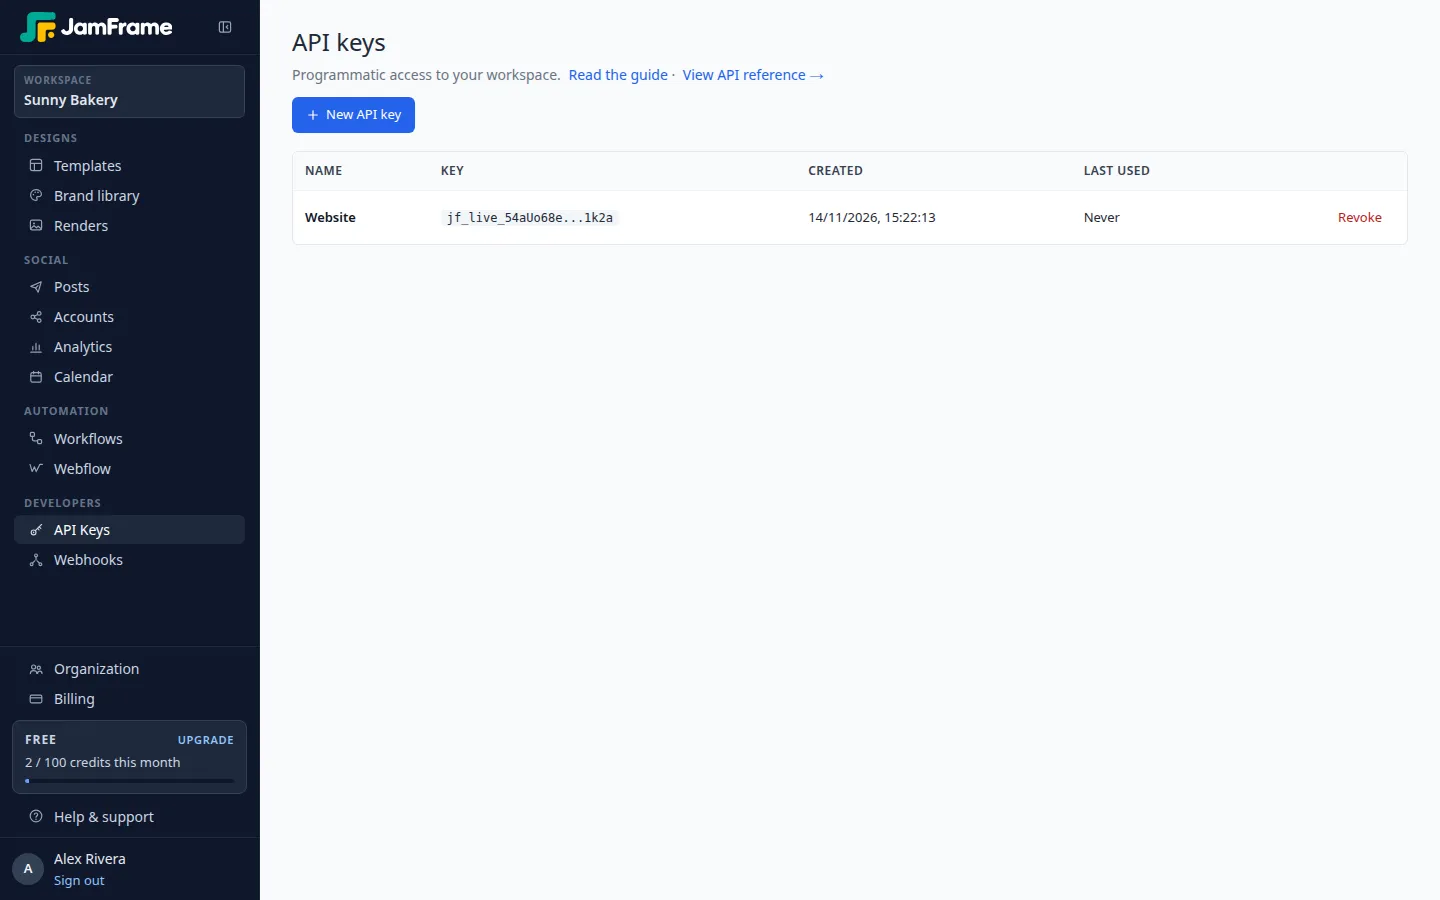
The API keys page in JamFrame. -
In Make, add a JamFrame module to a scenario.
-
Next to Connection, click Add.
-
Keep the Connection name or type your own. Paste your key in API key and click Save.
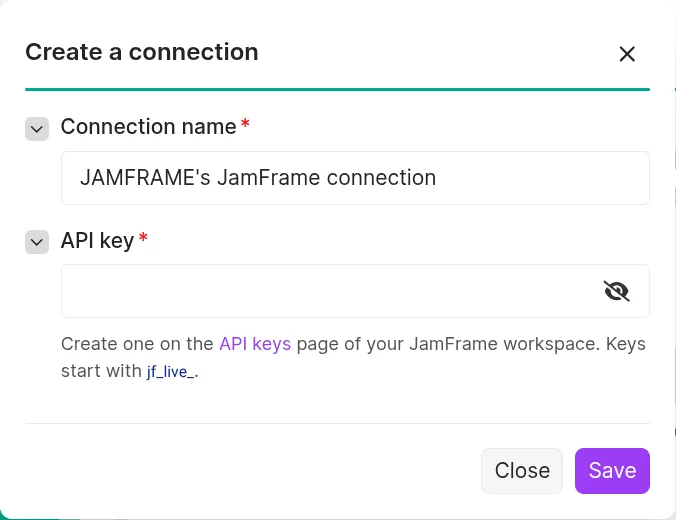
The connection asks for one thing: your API key.
Make checks the key with JamFrame and refuses a wrong one. To use another workspace, create a key there and add it as another connection.
Render a template
Render a template is the module most scenarios use. It fills a template with data from earlier modules and gives you the file.
-
Click + to add a module, search for JamFrame, and choose Render a template.
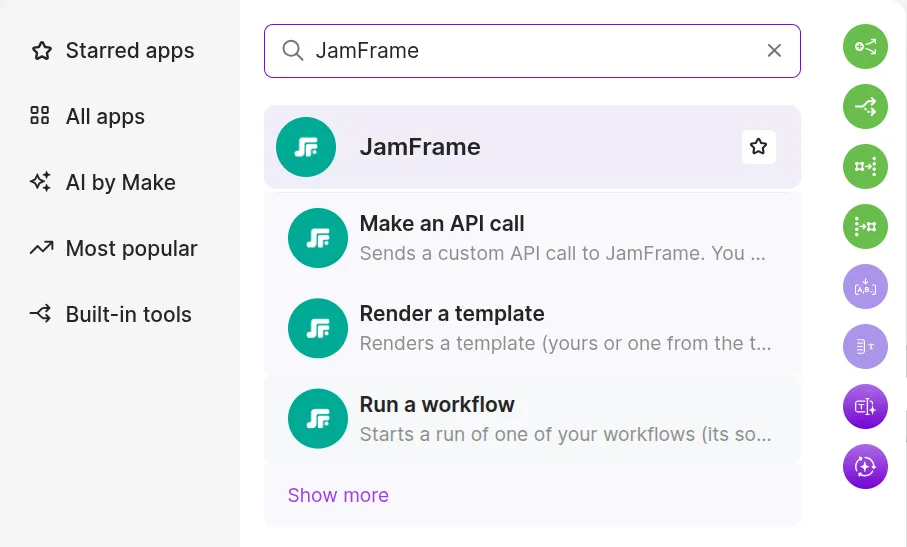
Search for JamFrame when you add a module. -
Choose your connection.
-
In Templates from, choose Your workspace or Template library. Then pick a template in Template.
-
Make now shows one field for each of the template’s values, named like them (here quote, accent and author). Type text, or click a field and map data from an earlier module. Under each field, Make shows the template’s current value. Fields you leave empty keep it.
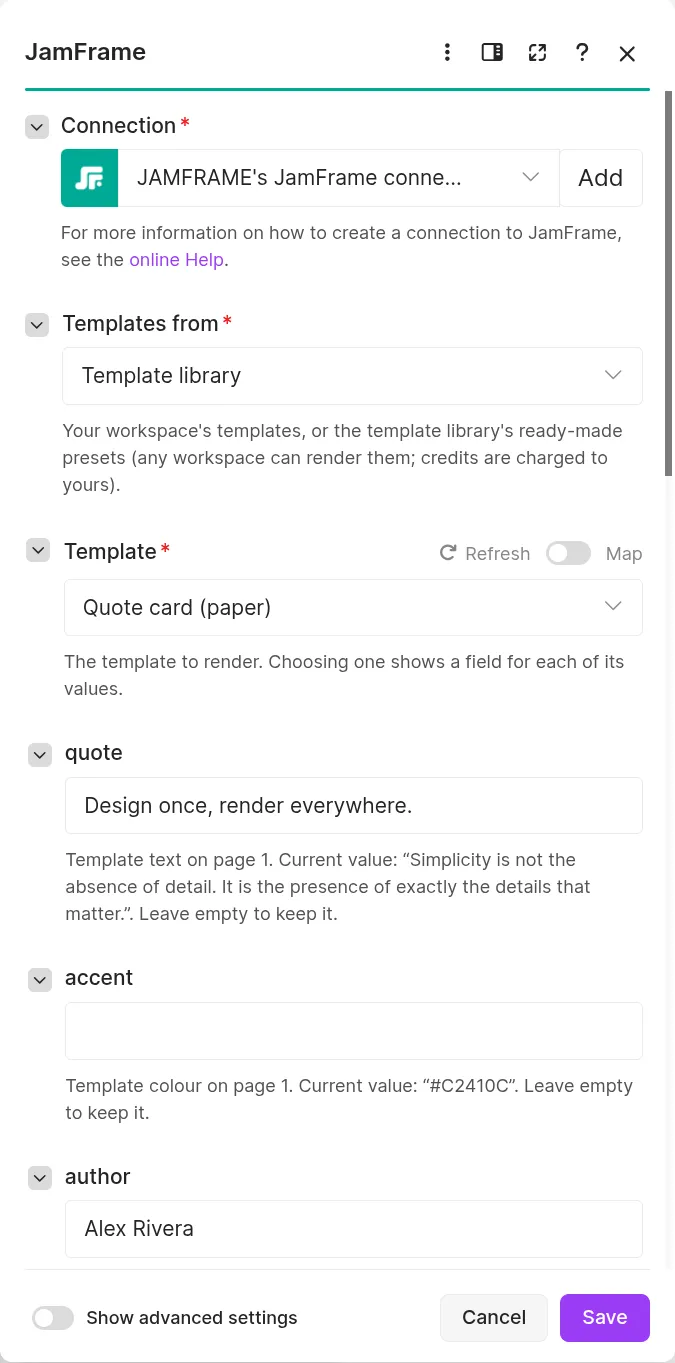
Each value of the template becomes a field in Make. -
Click Save, then Run once. JamFrame renders the template, and Make shows what came back: Status is
succeededand URL (first file) is the link to the file.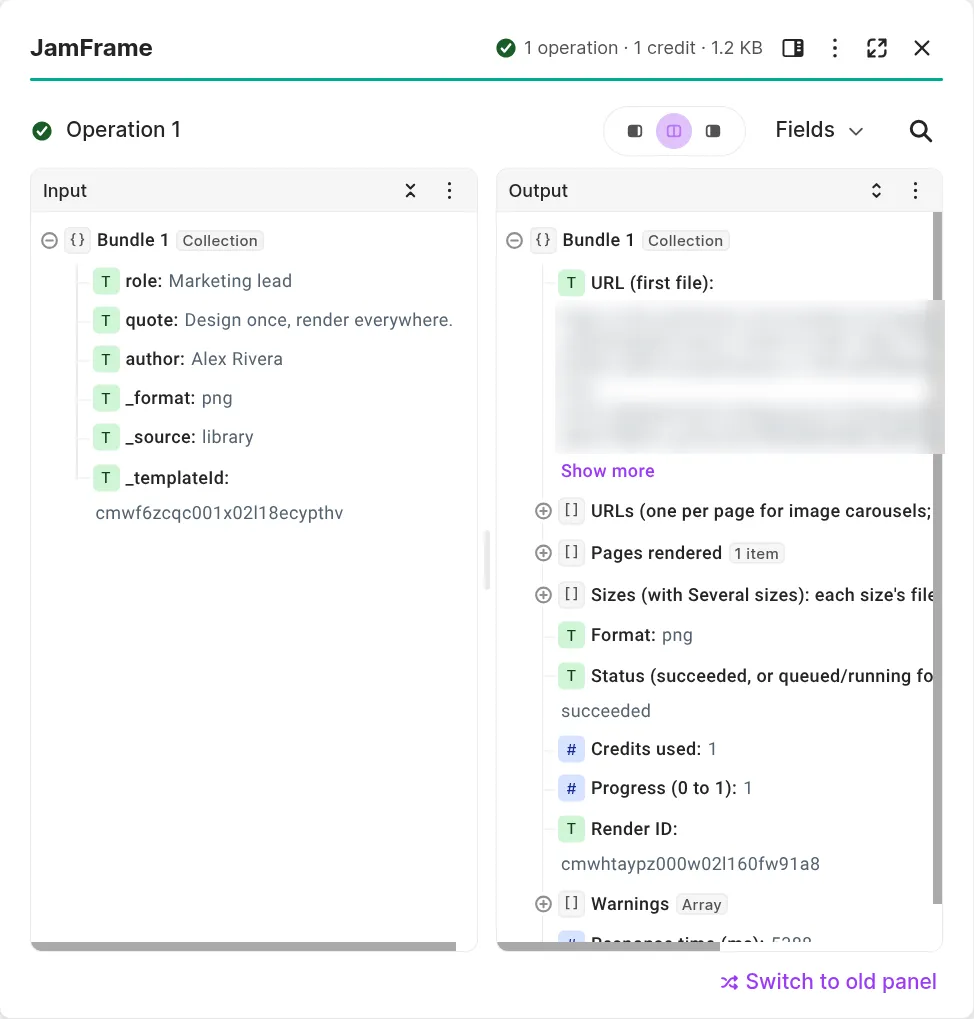
A test run renders for real and uses credits like any other render. -
Add the next module and map URL (first file) where you need the file, for example as an attachment in Gmail or an image in Slack. URLs has one link per page of a carousel. Then turn the scenario on.
Render a template fields
| Field | What it does |
|---|---|
| Templates from | Your workspace, or the template library. Library templates use your credits like your own. |
| Template | The template to render. Choosing one shows a field for each of its values. |
| The template’s fields | One field for each value of the template, such as a title, a photo URL or a colour. |
| Format | PNG, JPEG, WebP, PDF or MP4 video. Images give one file per page (a carousel), a PDF one file with every page, and an MP4 one video with each page as a scene. |
| Size (Smart Resize) | Renders every page at another size: a size saved on the template, a size name such as story, or a custom size such as 1080x1920. Leave empty for the template’s own size. |
| Several sizes | Up to 10 sizes in one go. URLs lists every file. 1 credit per page per size. |
| Pages | The pages to render. Leave empty for every page. |
| Scale | 1x, 2x or 3x the template’s size, for sharper images. |
| Quality (JPEG/WebP) | From 1 to 100. |
| Subtitle file (MP4) | Also saves the video’s subtitles as an SRT or WebVTT file. Free. |
| Run as a render job | For large images or PDFs. MP4 videos always run as a render job. |
| Wait for the result | For render jobs: the module waits up to about 30 seconds for the files, because Make stops a module after 40. If the job isn’t done by then, the module gives its Render job ID and Status, and you get the files later with Get a render job or the Watch finished renders trigger. |
| Extra values | Under Show advanced settings. Key and value rows for values the fields above don’t cover, for example page2@title for one carousel page or title.color for a style. A row wins over the field with the same name. |
| Callback URL (render jobs) | Under Show advanced settings. A URL that gets a POST when a render job ends. |
Credits: 1 per image or PDF page, 1 per second of video. A video takes a few minutes to render, longer than a Make module can wait. So for videos, turn Wait for the result off and use the files in a second scenario that starts with Watch finished renders.
Other modules
| Module | What it does |
|---|---|
| Create a social post | Posts to the social accounts connected in your JamFrame workspace: a template rendered for the post, an earlier render, or media URLs. Now, at a set time, or as a draft. Posting is free; a template render costs the usual credits. See Social posting. |
| Generate a template with AI | Designs a new template from your description and saves it in your workspace, ready to render. 15 to 30 AI credits. |
| Run a workflow | Starts a run of one of your JamFrame workflows, with rows from your scenario if you like. The run goes on in the background: Watch finished workflow runs gives its files. |
| Remove a background | Cuts the subject out of an image (a URL, or a file from an earlier module) and saves it as a transparent PNG in your brand library. 1 AI credit. |
| Transcribe audio | Turns the speech in an audio file or a video into text and subtitles (SRT and WebVTT). 1 AI credit per minute. |
| Get a design | Gives a template’s page count, the values Render a template accepts, and its saved sizes. |
| Get a render job | Gives a render job’s status and, once it succeeded, its files. Can wait up to about 30 seconds for it to finish. |
| Make an API call | Calls any endpoint of the JamFrame API with your connection’s key. Every endpoint is in the API reference (opens in a new tab). |
Triggers
Triggers start a scenario when something happens in your JamFrame workspace. Triggers with the Instant label start it within seconds. Watch new renders has no such label: Make checks for new renders on the scenario’s schedule.
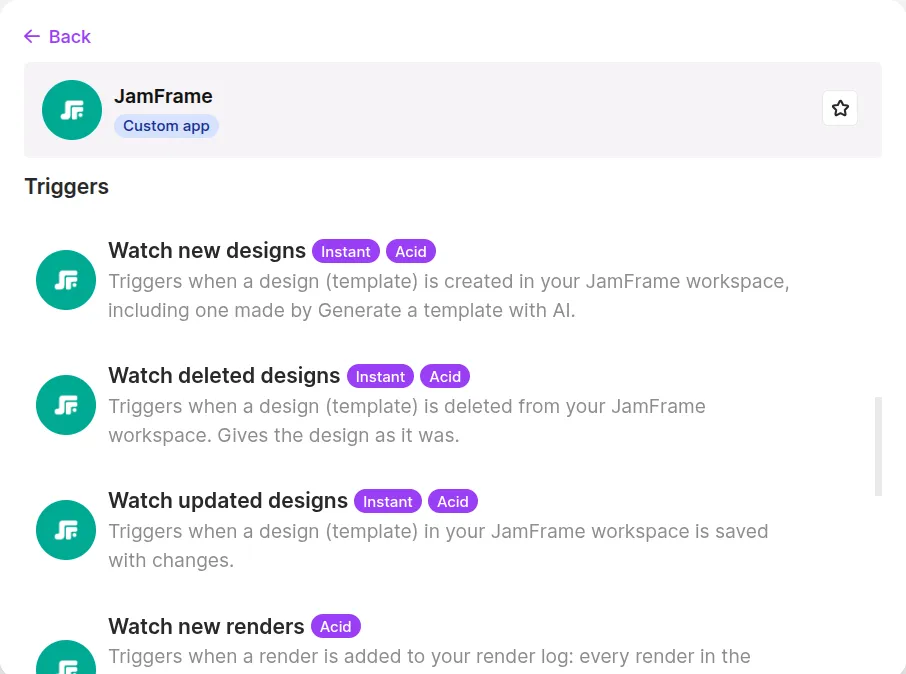
| Trigger | Starts the scenario when |
|---|---|
| Watch new designs | a template is created, including one made by Generate a template with AI |
| Watch updated designs | a template is saved with changes |
| Watch deleted designs | a template is deleted |
| Watch finished renders | a render job is done: an MP4 video, or a render sent as a job. Gives the files. |
| Watch failed renders | a render job fails (no credits are charged for it) |
| Watch new renders | any render is added to your render log |
| Watch finished workflow runs | a JamFrame workflow run ends without failing. Gives each row’s values and files. |
| Watch failed workflow runs | a JamFrame workflow run fails |
| Watch published social posts | a post goes live on one of its accounts. A post to three accounts starts the scenario three times. |
| Watch failed social posts | a post fails for good on one of its accounts, after retries |
Instant triggers
An instant trigger needs a webhook: the address in Make that JamFrame sends the event to.
-
Add the trigger as the first module of a scenario.
-
Under Webhook, click Create a webhook. Keep the name, check that your JamFrame connection is chosen, and click Save. JamFrame starts sending that event to the scenario.
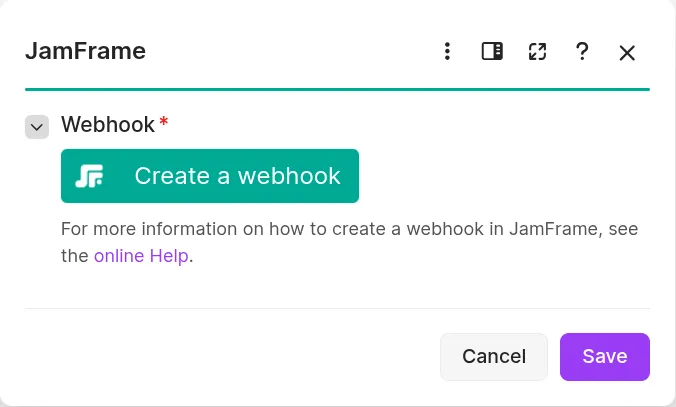
Each instant trigger gets its own webhook. -
Click Save, then turn the scenario on.
If you delete the webhook in Make (on the Webhooks page), JamFrame stops sending events to it.
Watch new renders
Watch new renders has three fields: Status (which renders start the scenario), Template (only renders of one template; leave empty for all) and Limit (the most renders one run works with).
The first time it runs, Make asks where to start: From now on, Since specific date, All, or Choose manually to pick a render from a list. A render you pick is included.
A first scenario
- Trigger: Google Sheets, Watch New Rows.
- Action: JamFrame, Render a template. Pick a template, then map each of its fields to a column of the row.
- Click Run once. Make shows the link to the finished image.
- Add a module that uses the link, for example Gmail or Slack, and turn the scenario on.
Need help?
Email [email protected] with what you tried and what Make showed. Until the app is listed in Make, we’d also like to hear what works and what doesn’t.
Last updated
Still stuck?
Email [email protected] and a real person will reply. Tell us the template you were using and what you expected to happen.